 One of the common themes of the computer industry is to try to install a load of bloat on your computer under the guise of making it easier for you, well when I first got my Dell E310dw and had a flick through the setup guide to head off any such shinangans I noticed they had some sort of 'universal' installer.
Trying not to fall for that I steamed ahead to wing it myself, turned out to be pretty easy really, just follow these steps:
- Unbox
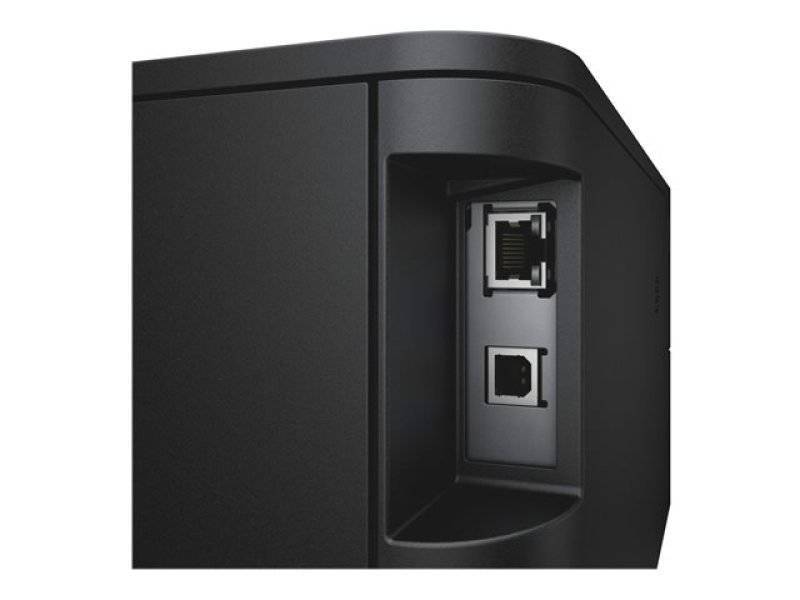
- plug in ethernet cable from printer to router
- turn on
That's it, seriously! I went to the 'Devices and Pirnters' screen in Windows 10 to go and try to install it as a network printer and it was the already waiting to go.
I didn't actually believe it so I fired of a test page and it printed - magic!
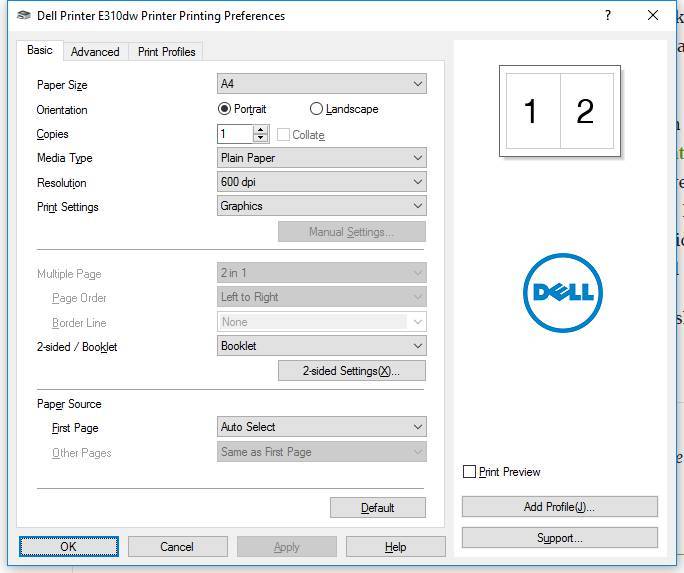
One of the option I was missing though was the booklet print option, so if you want to get to all the advanced settings you do need to install the dell drivers. You can do that easily
- Go to the Dell download page for the printer
- Download the latest Windows driver and unzip it
- Search for device 'Device Manager' in the start menu
- Expand the printer option and right click on 'Dell Printer E310dw'
- Click update Driver Software
- then 'Browse my computer for driver software'
- then 'Let me pick from a list of drivers on my computer'
- then the 'Have Disk' button
- Then navigate to where you unpacked the divers and follow it through Drivers/PCL/32_64 and select DLOHL13A.INF
Then you are good to go, fire up the printer properties pages and you get:
For extra enjoyment, fire up you web browser and make your way over to the IP address of your printer and you'll find yourself up to you neck every option and bit of info you could think of including Google's Cloud print gubbings.
